Get ready to learn

Access the full educator resource

The 'Get ready to learn' pdf includes information and research on interoception and Autism, as well as practical advice for classroom application.

Communicate with families and caregivers

Share this interoception information sheet with your students' families and caregivers to keep them informed about class activities. You might like to add it to your newsletter.

'Get ready to learn' in multiple formats

Videos, illustrations and posters

The 39 activities are provided below in multiple formats so you can use what best suits your class and teaching methods.

  • Show the illustrations on a smartboard as you demonstrate.
  • View the demonstration videos in your classroom.
  • Print the activities as posters to display around the room for easy reference.
  • Share the activities for viewing and practice at home.

Scroll down to access

How to use the interoception activities in the classroom

Interoceptive awareness is built through repeated and progressive exposure to the activities. You can structure this as best works for your class, depending on student needs, the ages of your students, as well as the time you have available for your program.

Repetition

You might consider offering two or three short sessions a day covering one or two activities, or perhaps one or two longer sessions a day, each lasting 15 to 20 minutes. These longer sessions can often be beneficial in classrooms where students arrive dysregulated and struggle all day. Sessions may be most beneficial scheduled after breaks, such as first thing in the morning, after recess or after lunch, or after a transition when students may require refocusing.

Consistency

The 39 interoception activities are presented in a vaguely sequential way. This means it is most practical to start with earlier activities first, which are designed to build single interoception skills. Then work through to later activities where students will build their skills of interoceptive awareness by observing sensations in multiple places as well as differences in intensity.

Progress

As you progress with your program, be sure to revisit earlier activities, as this will provide your students with an opportunity to explore differences in feeling compared to previous experiences of the activity and feel the satisfaction of achievement.

About the age of actors in the videos

The actors demonstrating the interoception activities in these videos are 15 years or older. The interoception activities are suitable for learning and practice by children and young people of all ages. In order to ensure the resource is accessible for the largest age range, older children have been depicted in both the videos and illustrations.

Person sitting in a chair with hands resting on their thighs.

1. Sitting down, rest your hands on the top of your thighs.

Person stretching their fingers with a 30 second timer.

2. Now stretch your fingers as wide apart as possible and hold them stretched out like that for 30 seconds. Then rest them back, so they are relaxed again.

Where could you feel a difference in your body when your hands were relaxed and when your hands were stretched? (Get students to point/ sign/say where they felt something.)

3. Now pick one of the parts of the body identified by a student and repeat 1. and 2. focusing on that body part. For example, focus on the webbing of your hands while your hands are relaxed, now stretch the fingers as wide apart as possible and focus on how the webbing between your fingers feels.

Video demonstration


Person sitting in a chair with their feet flat on the floor.

1. Sitting down, rest your feet flat on the floor.

Person stretching their toes wide apart.

2. Now stretch your toes as wide apart as possible and hold them stretched out like that for 30 seconds.

Person curling their toes with a 30 second timer.

3. Now curl your toes under and hold them curled for 30 seconds.

Person sitting in chair with feet relaxed.

4. Rest your feet back again, flat on the floor. Now they should be relaxed.

Where could you feel your muscles when your toes were stretched and where could you feel it when they were curled?

5. Now repeat steps 1-4, focusing on one of the parts of your feet or legs where you felt the stretch in your muscles during the toe stretch/curl.

Video demonstration


Person standing up with their hands flat on a wall.

1. Standing up, put your hands flat on the wall and hold them there.

Person pushing against a wall for 30 seconds.

2. Now push the wall as hard as you can for 30 seconds.

Person relaxing with their arms by their sides.

3. Stop pushing and rest your arms by your side. Your arms should now be relaxed.

Where could you feel your muscles when you were pushing against the wall?

4. Now repeat steps 1-3, focusing on one of the parts of your body where you felt the stretch in your muscles during the wall push.

Video demonstration


Person standing up putting one foot in front of the other.

1. Standing up, put one foot in front of the other with both feet facing forward and legs hip-width apart, both feet flat on the floor.

Person moving their front foot so only the heel is touching the floor.

2. Now move the front foot so that it only has the heel touching the floor. Where can you feel something? You may feel your muscle stretching on the back of your calf.

Person moving their front foot so only the toes touch the floor.

3. Now point your toes on that front foot so only your toes are touching the floor. Can you feel something in your foot as well as your leg? Is this the same as before or different?

Person swapping legs and feet.

4. Put your feet back flat on the floor and change which leg is in front, then repeat the heel touch and toe touch. Does it feel the same or different?

5. Now repeat steps 1-4, focusing on one of the parts of your feet or legs where you felt the stretch in your muscles during the heel/toe walking.

Video demonstration


Person lying on the floor doing multiple exercises.

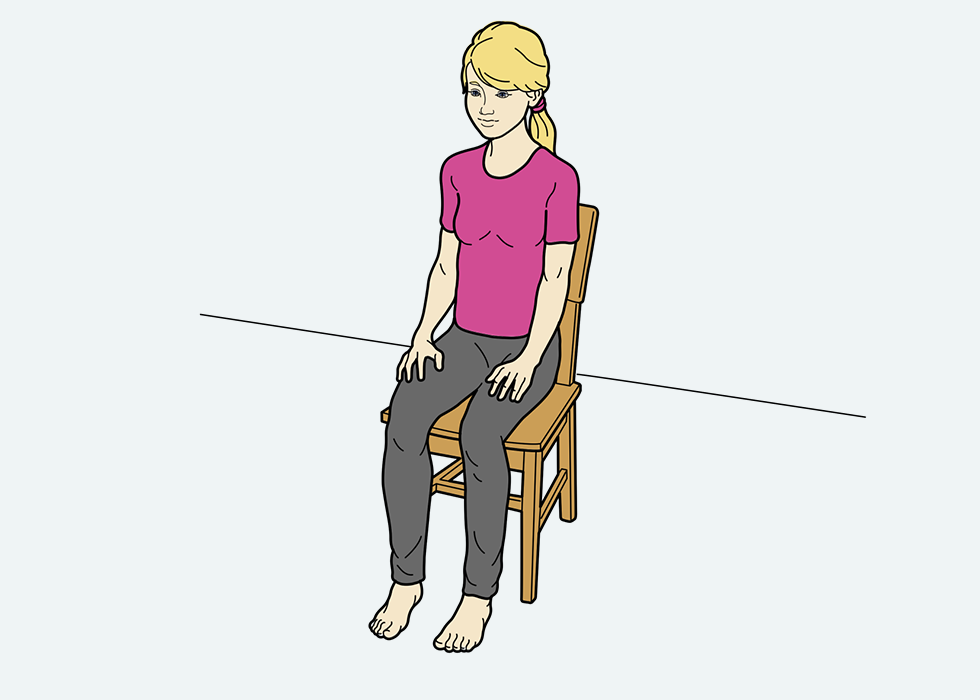
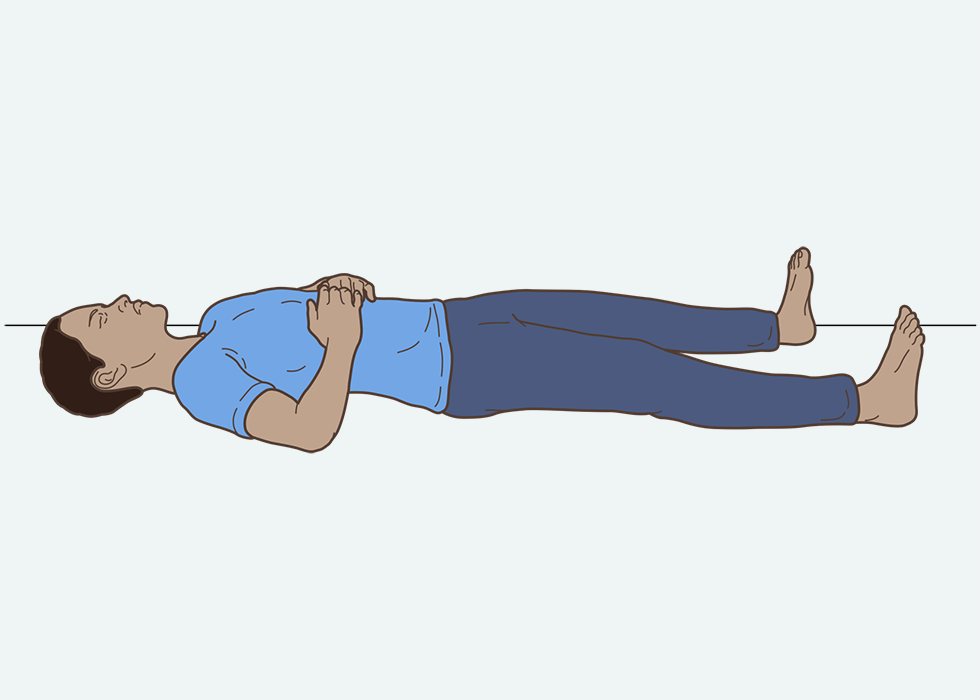
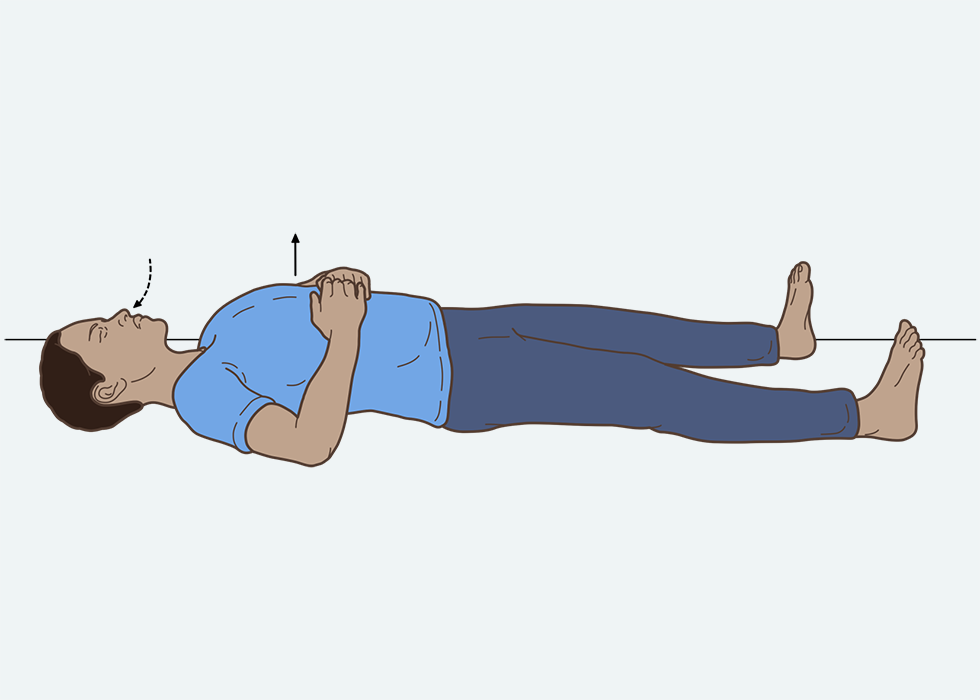
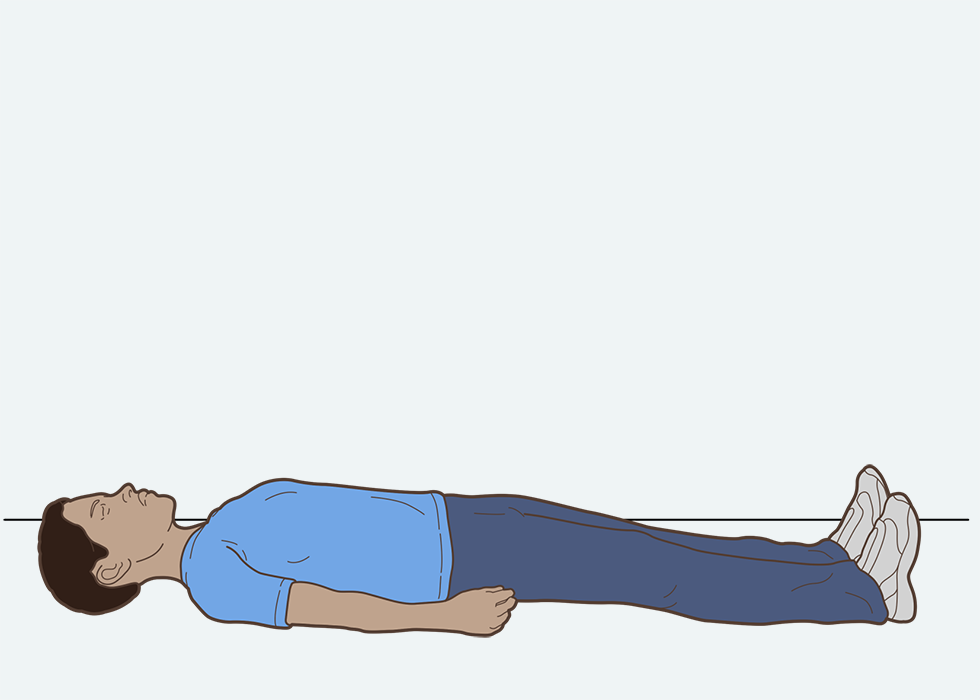
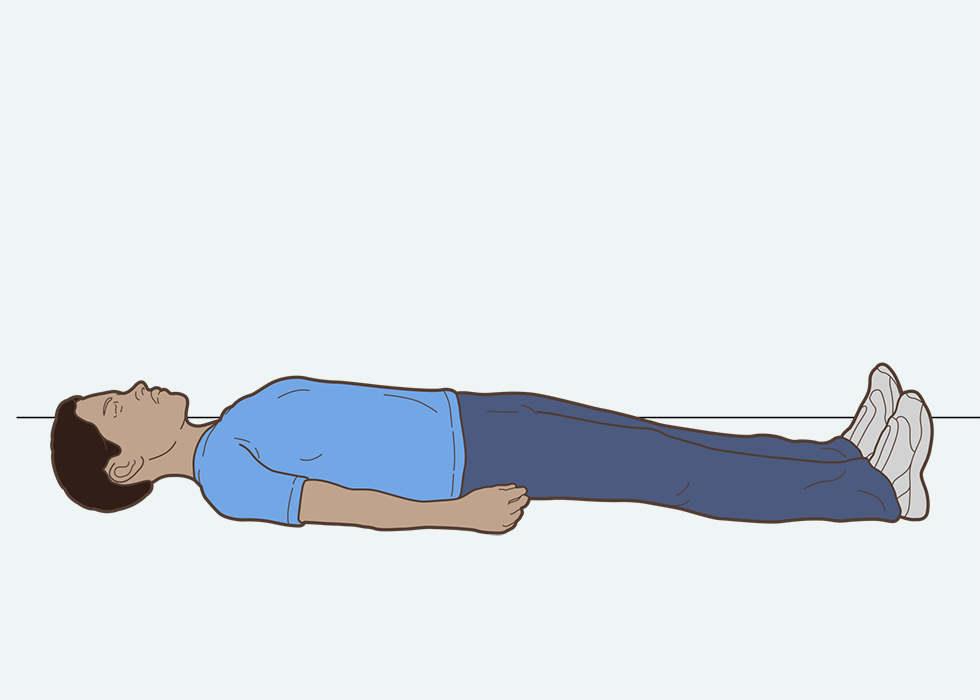
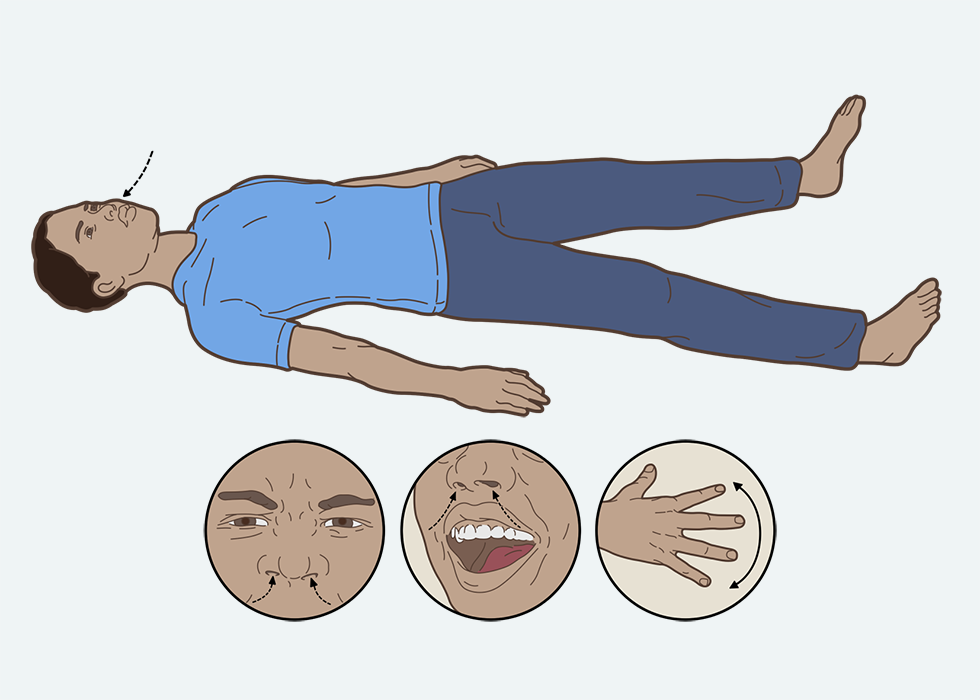
1. Lie down in a space on the floor, with your arms relaxed by your side. You can close your eyes if you want to. Breathe slowly.

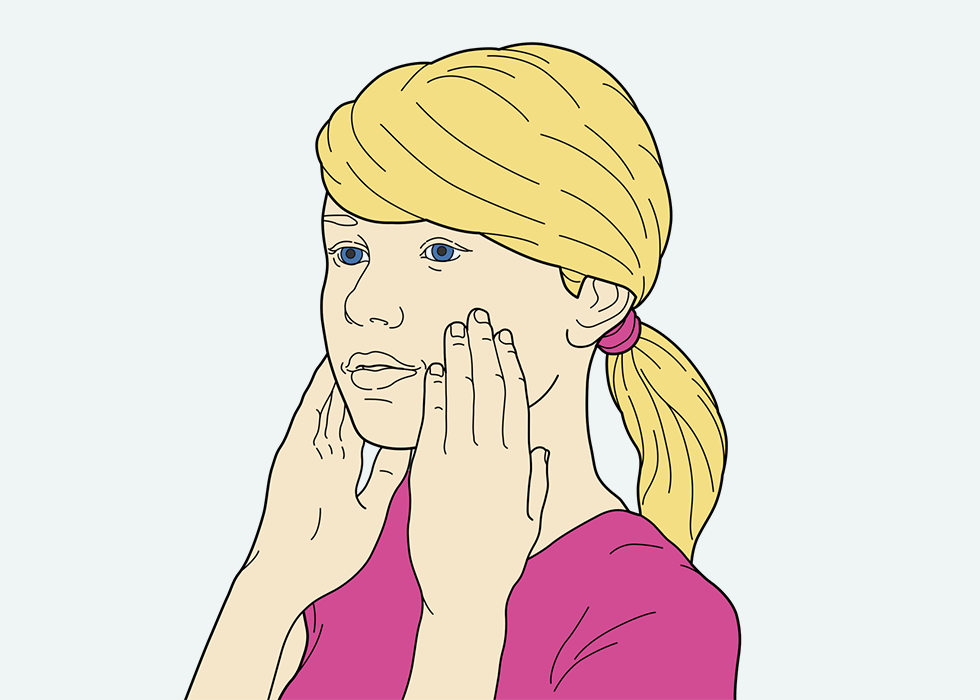
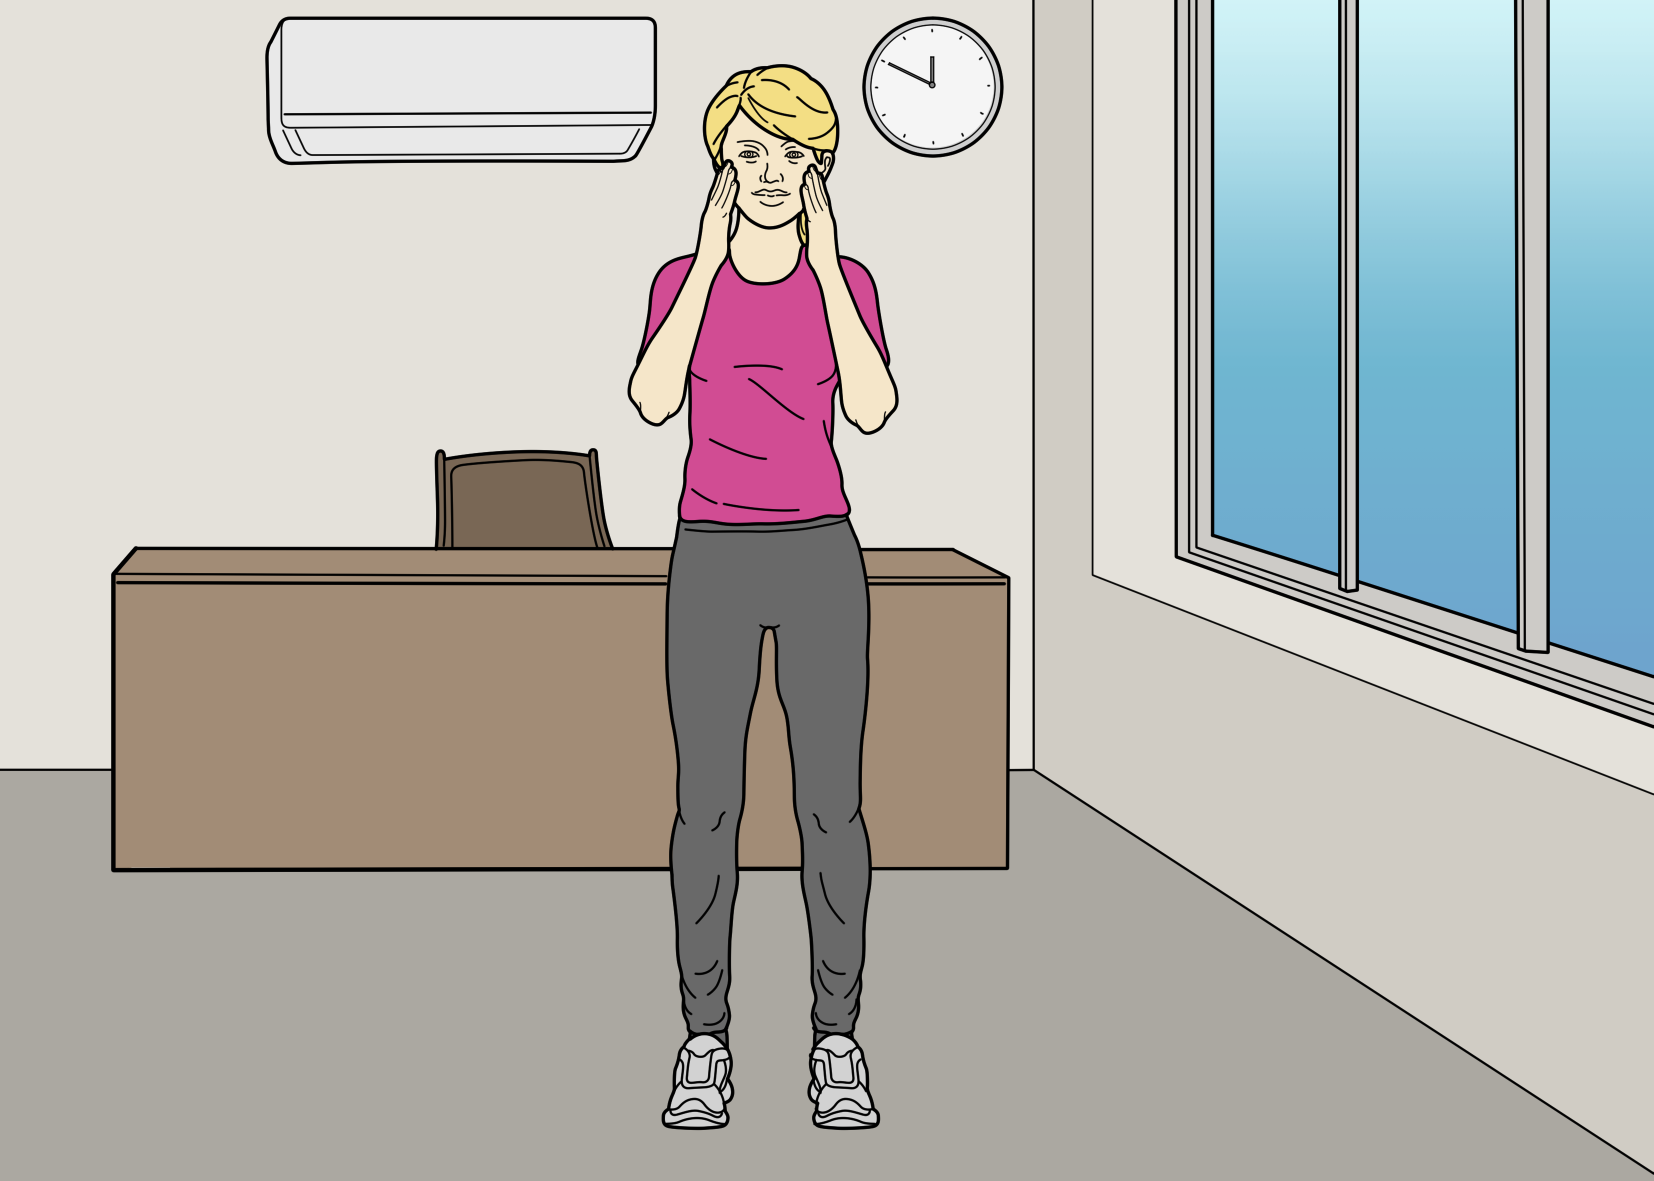
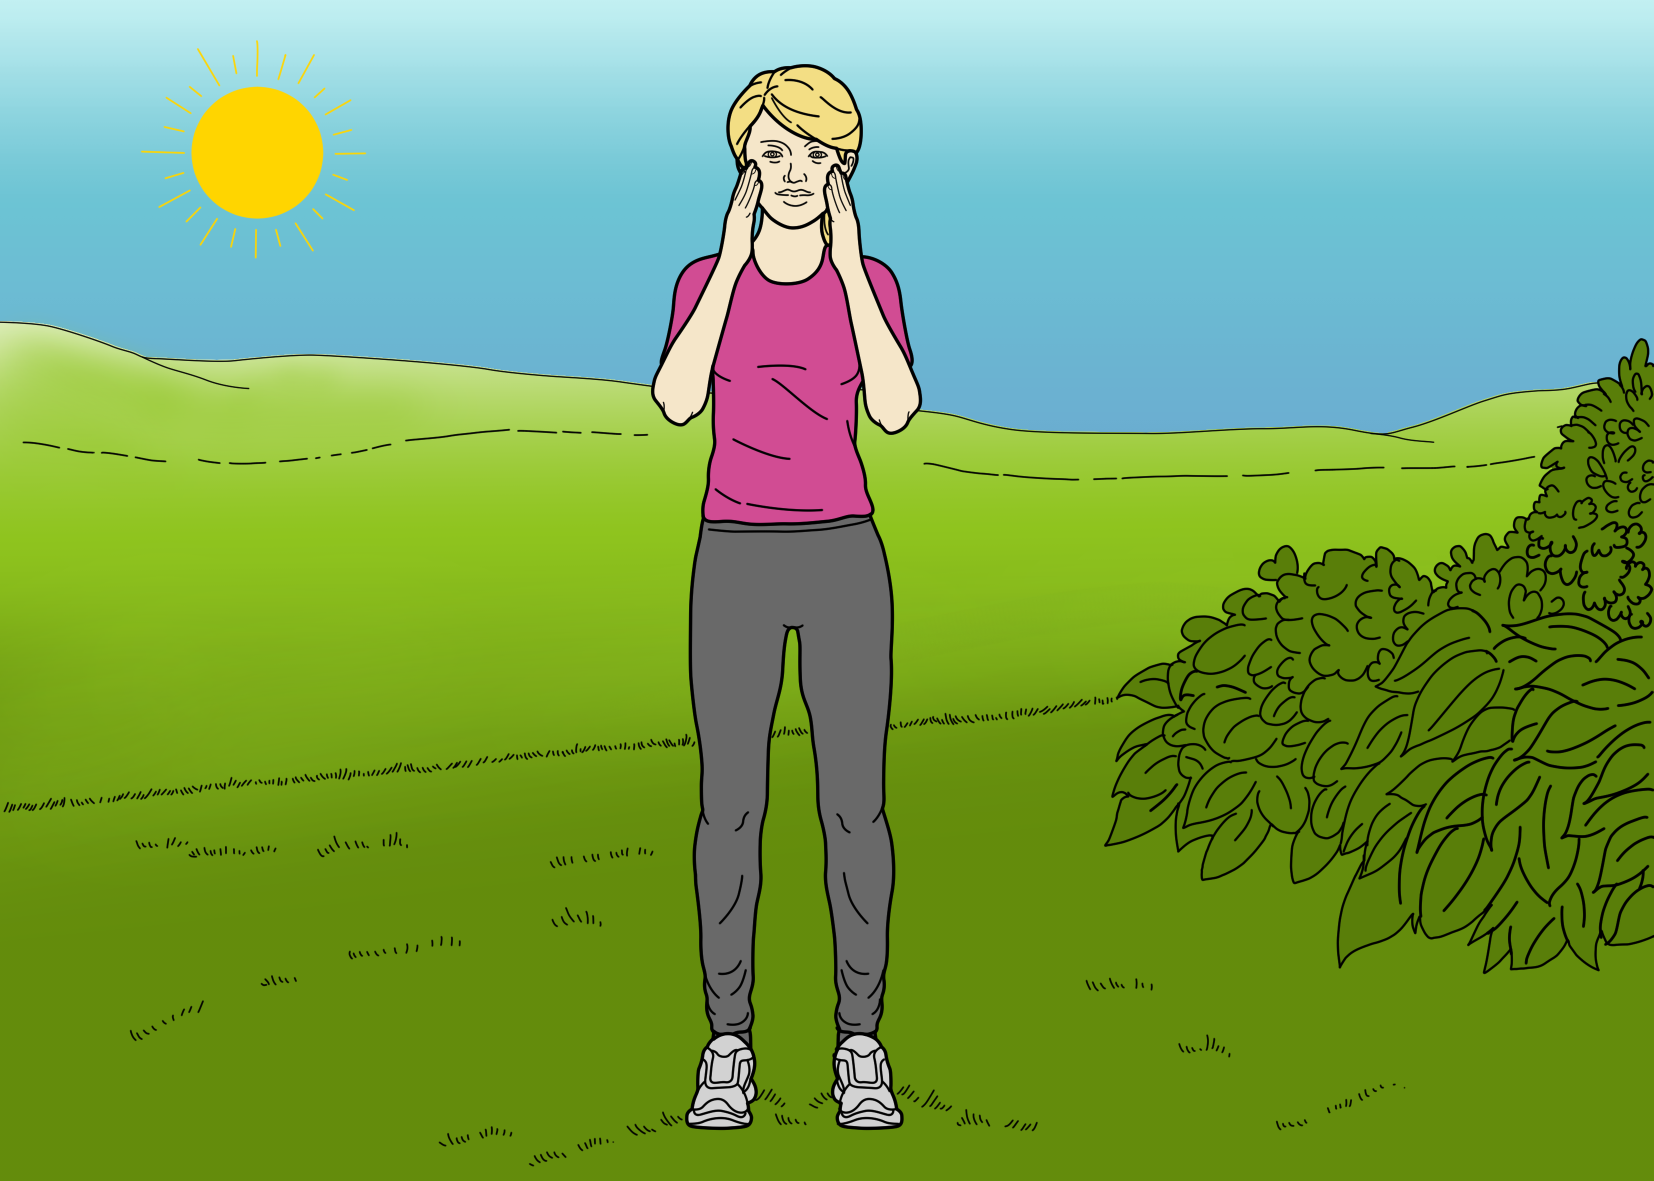
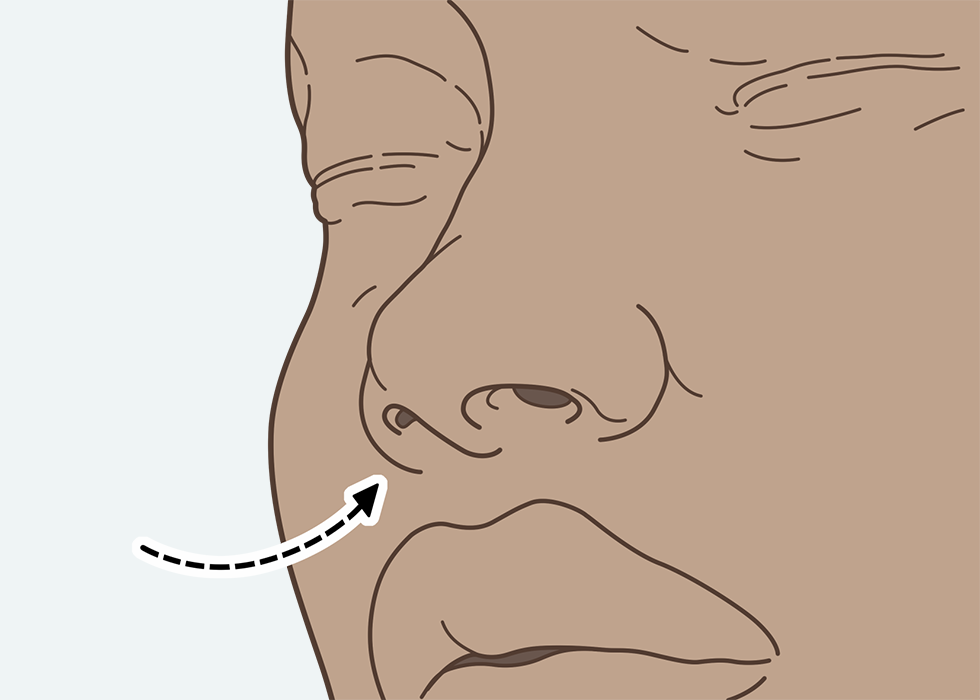
2. As you breathe in scrunch your eyes and forehead and then as you breathe out relax them again.

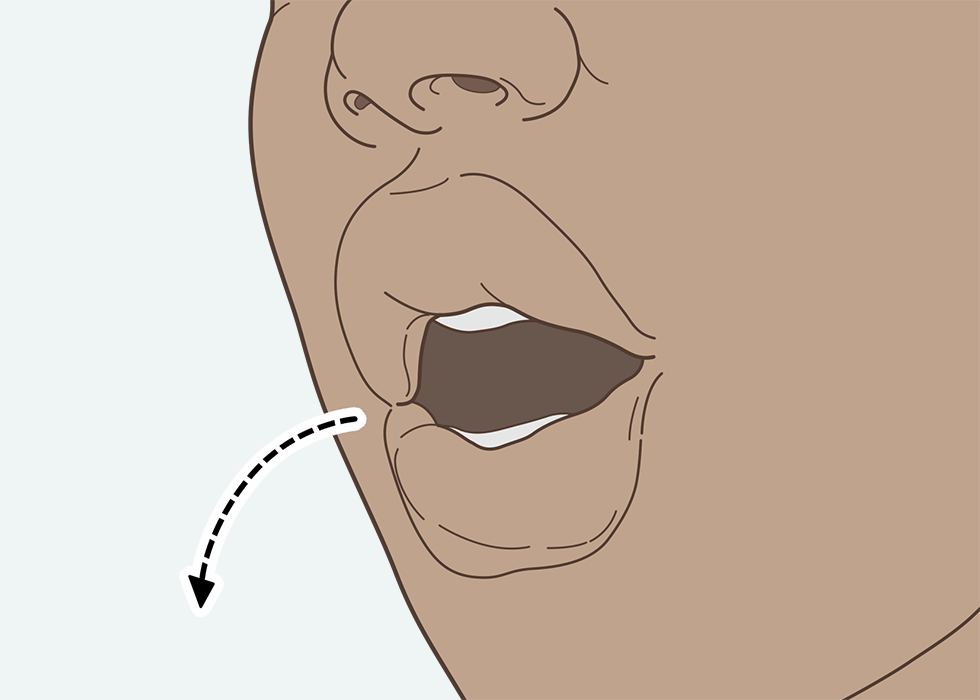
3. As you breathe in open your mouth as wide as possible then as you breathe out relax your mouth.

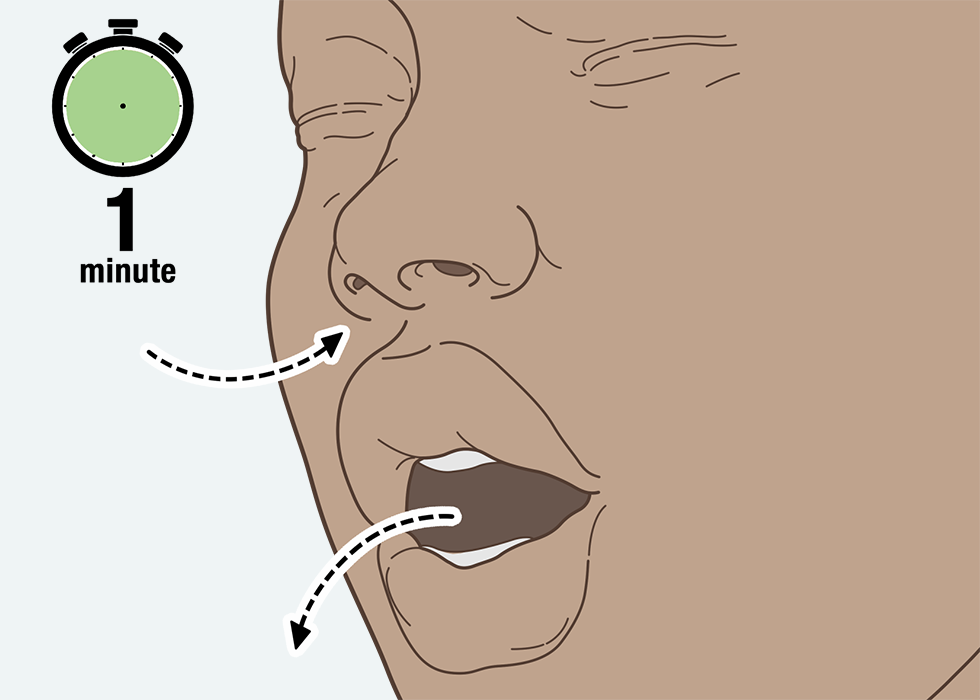
4. Keep breathing slowly.

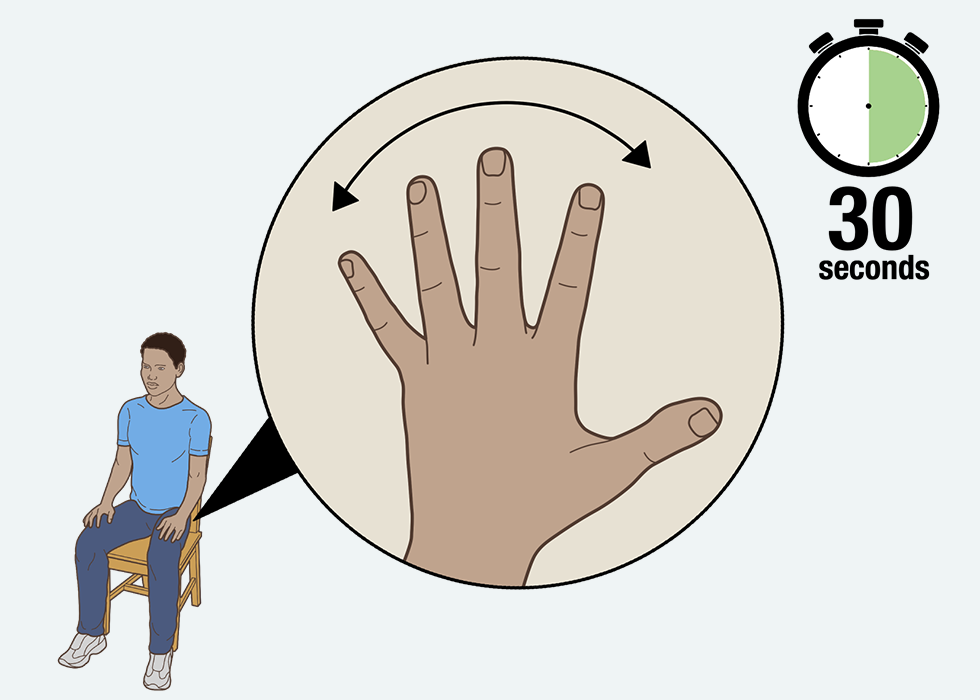
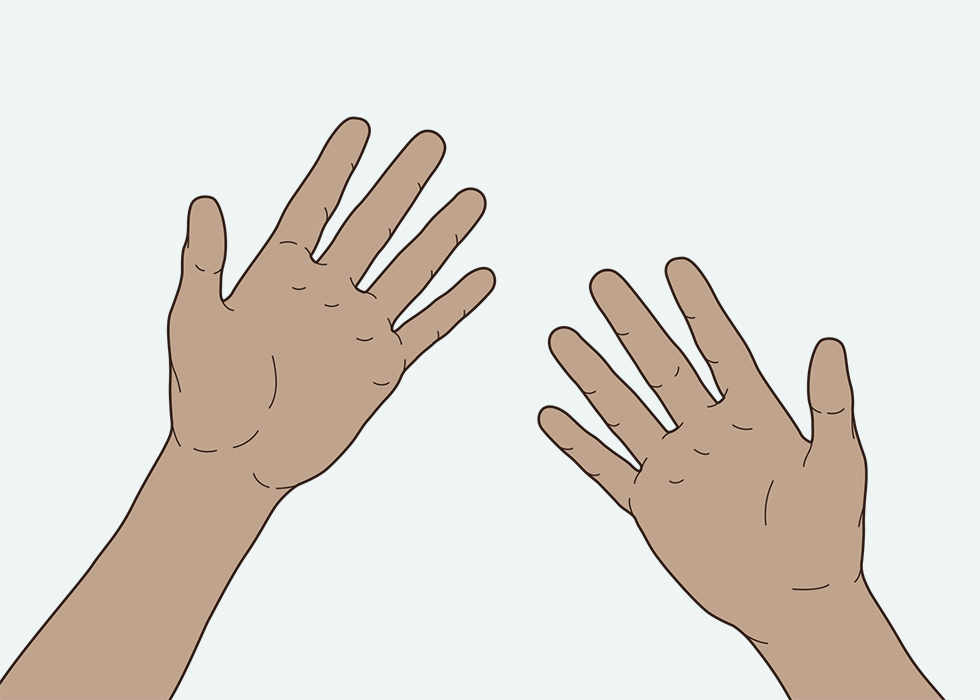
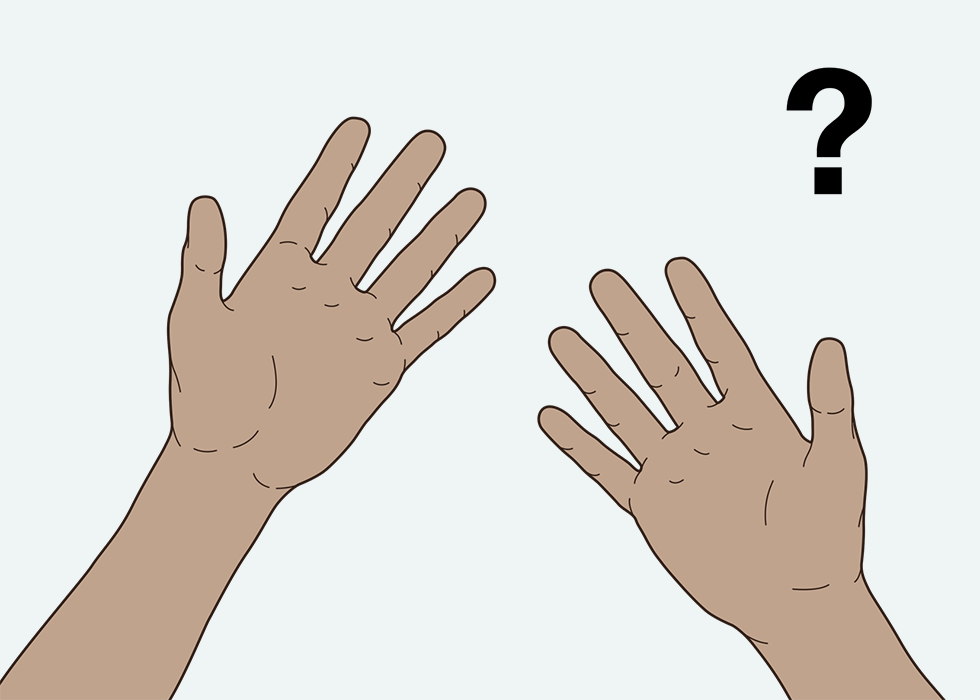
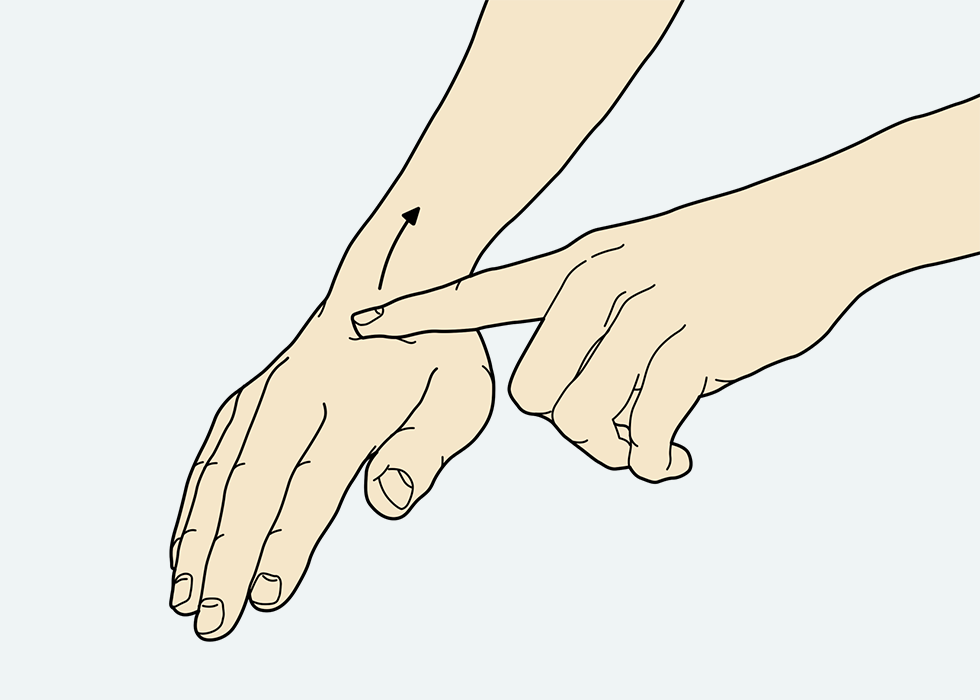
5. As you breathe in stretch your fingers apart as wide as possible, then as you breathe out, relax your fingers.

Person lying down curling toes and pulling feet towards their body.

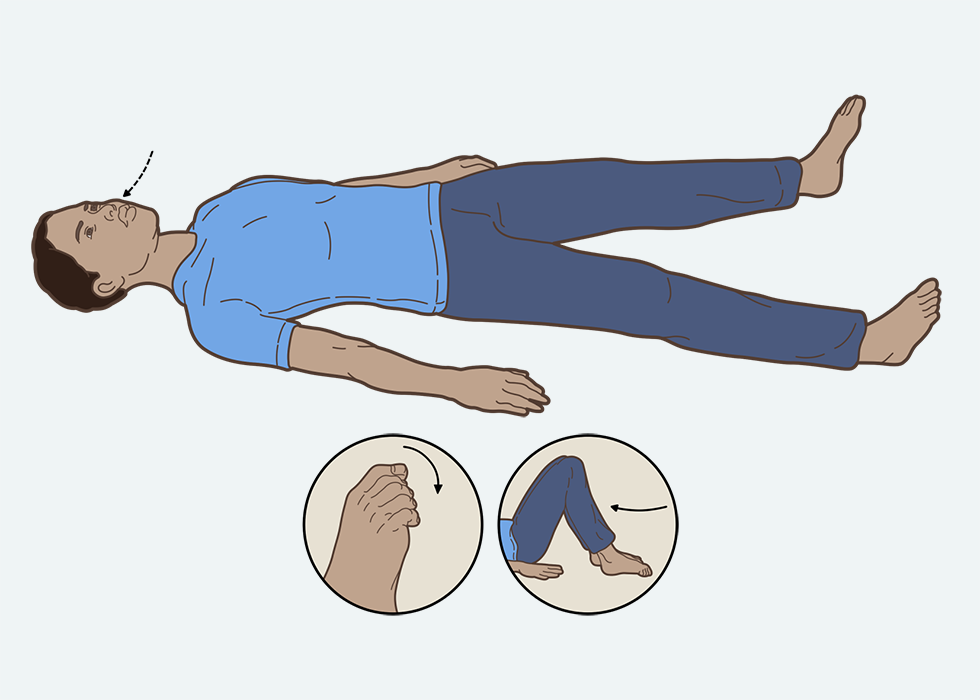
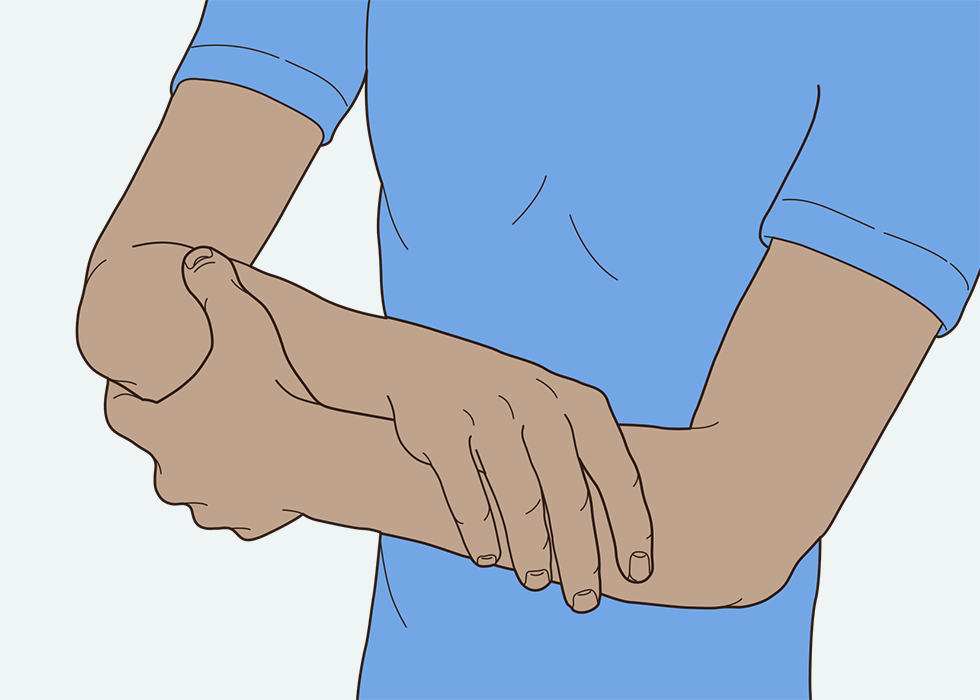
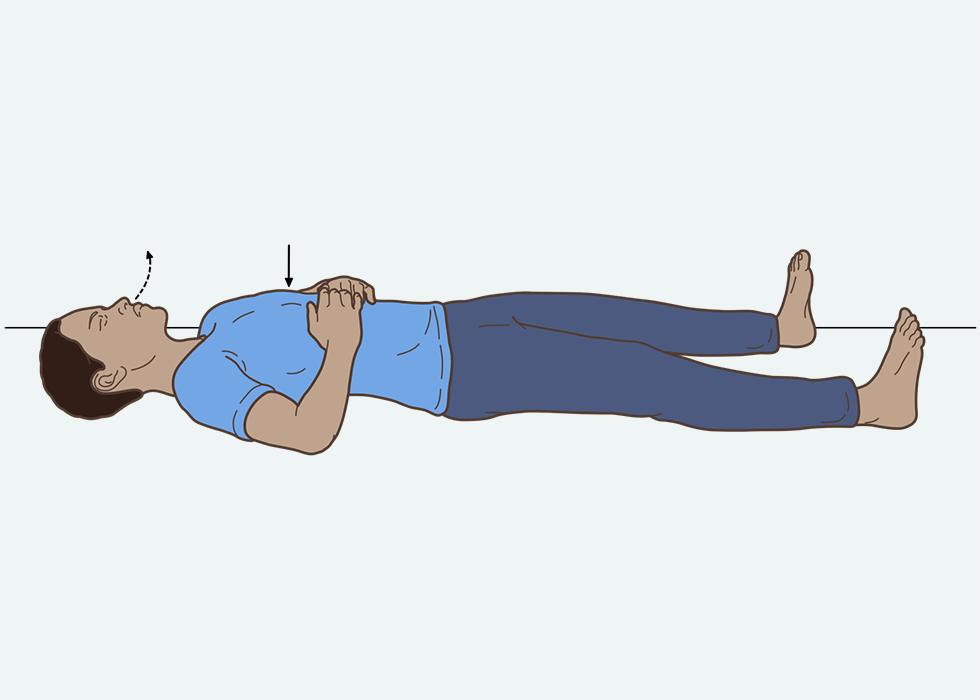
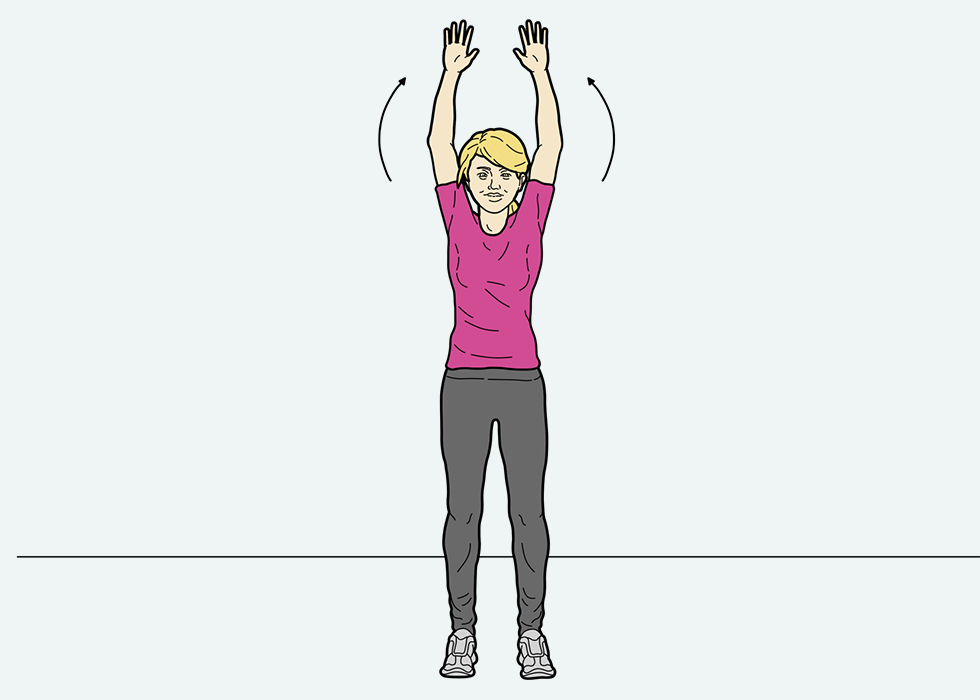
6. Now stretch your fingers and your arms as you breathe in, stretch as much as possible.

7. As you breathe out, relax your arms and fingers.

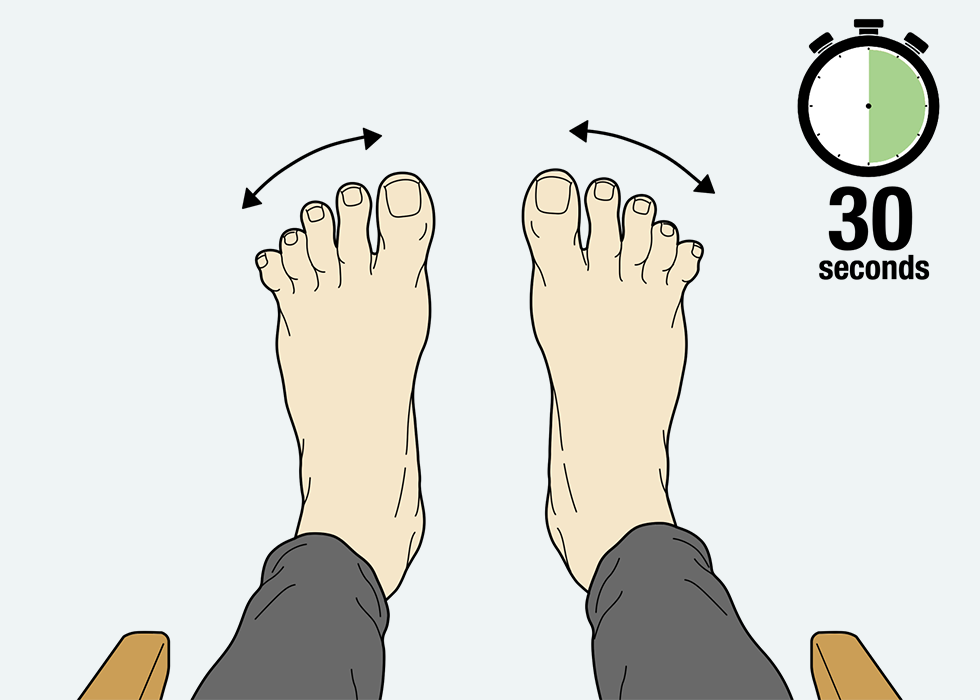
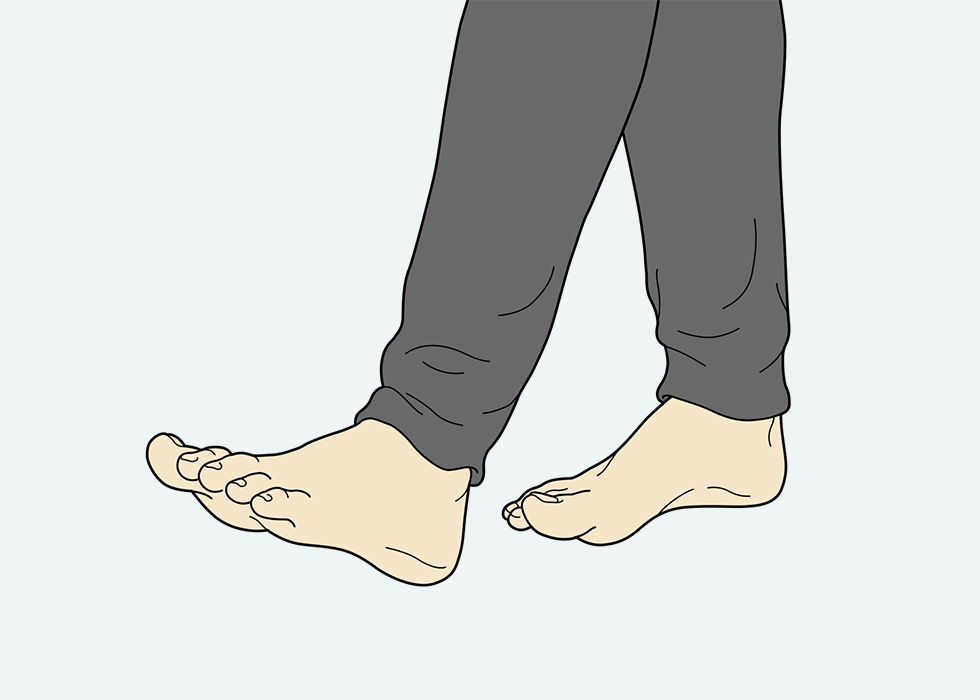
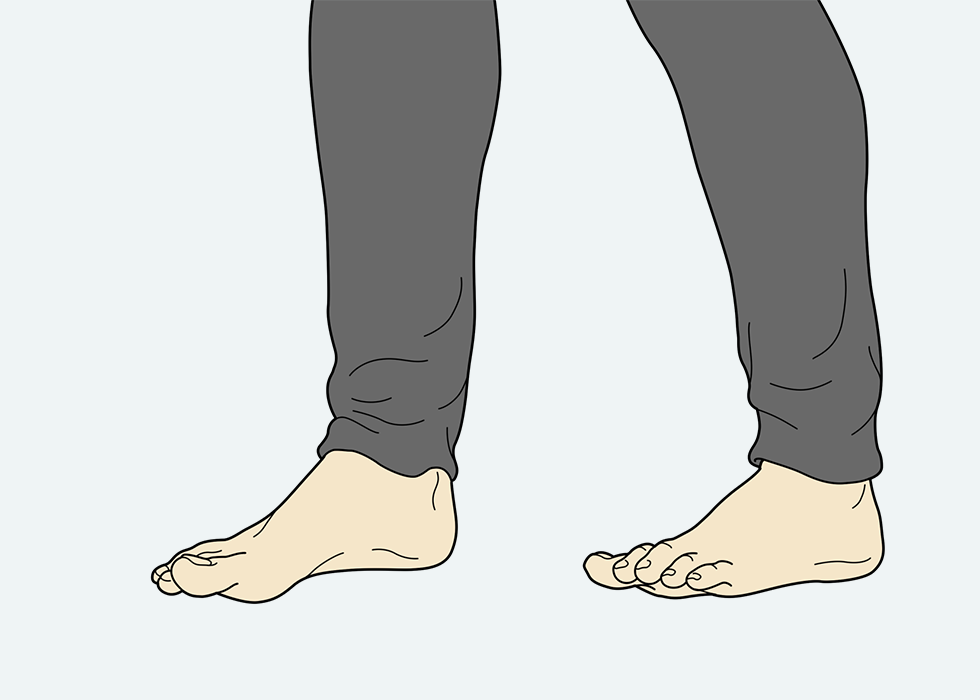
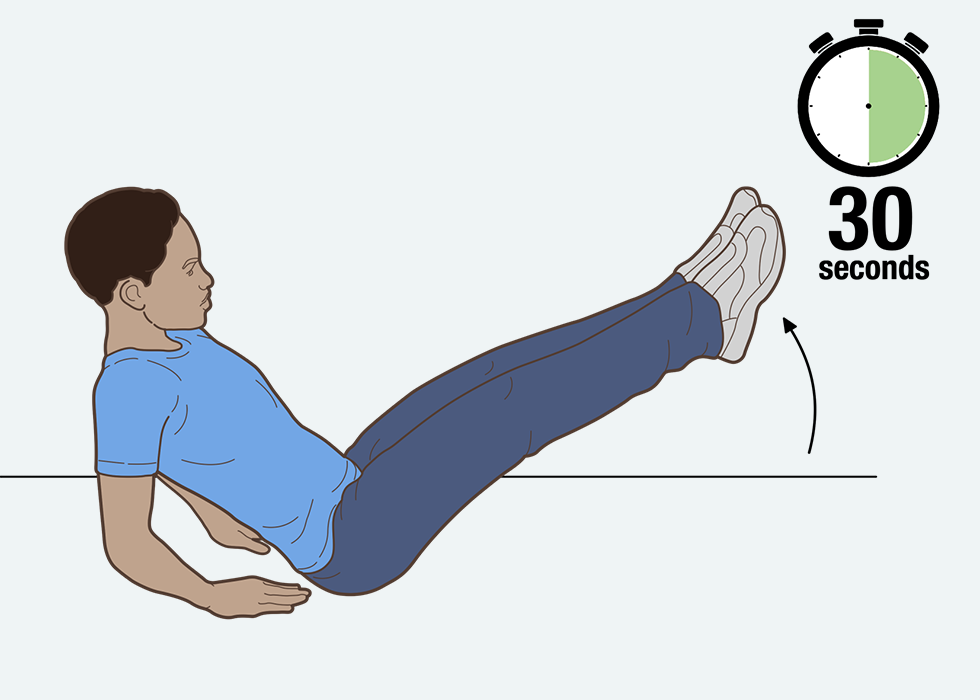
8. As you breathe in curl your toes up to scrunch your feet, then relax your feet as you breathe out.

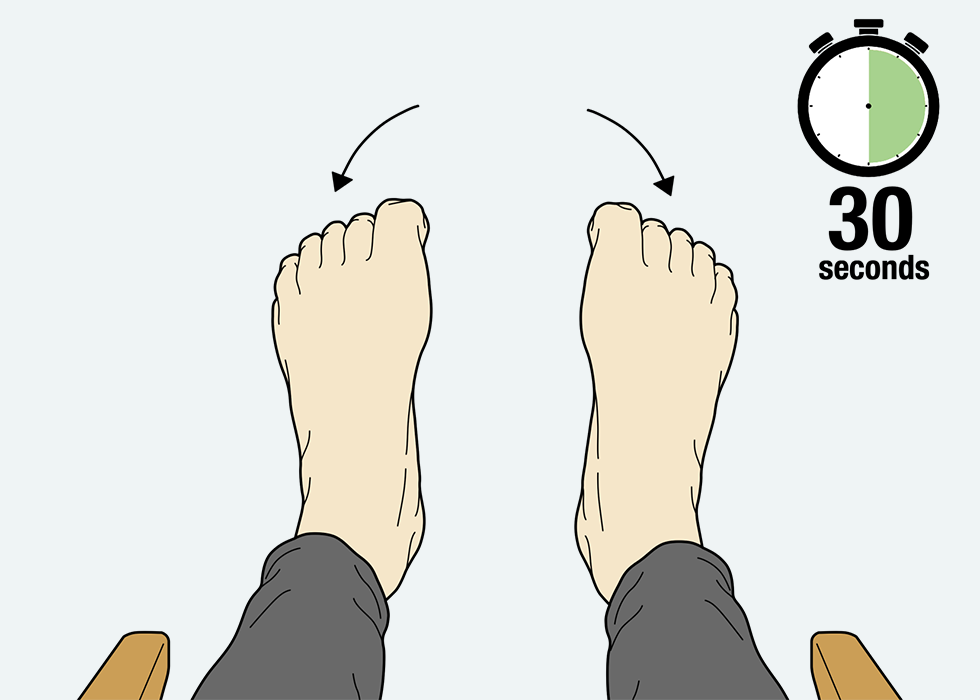
9. Now as you breathe in scrunch your toes up and pull your feet in towards your body just using your leg muscles, and relax as you breathe out.

10. Breathe slowly in and out for a few breaths and then when you are ready, breathe in and tense up your face, hands, arms, feet and legs and then slowly breathe out and relax all the muscles.

11. Stay relaxed and breathe in and out slowly for a few more breaths.

12. Now repeat this activity focusing on how each part of the body feels when it is stretched or scrunched compared to how it feels when it is relaxed.

Video demonstration


A person paying attention to their hands

1. Standing still, bring your attention to how your hands feel.

A person touching their arms with their hands.

2. Now, touch your arms with your hands. Are your arms warmer or cooler than your hands?.

A person rubbing their hands together for 30 seconds.

3. Now rub your hands together really fast for 30 seconds.

A person noticing if their hands feel warmer.

4. Stop after 30 seconds.  Do your hands feel warmer or cooler than before?  Touch your arms with your hands. Are your arms warmer or cooler than your hands?

5. Repeat steps 1-4 but at step 4 touch your face with your hands instead of your arms.

Video demonstration


A person touching their face with their hands.

1. Standing still, bring your attention to your hands. Now touch your face with your hands.

How does your face feel? Does it feel warmer or cooler than your hands?

A person jogging on the spot.

2. Now, jog really fast on the spot for one minute.

A person touching their face to feel their temperature.

3. Stop after one minute and touch your face with your hands.

How does your face feel now? Does your face feel warmer or cooler than before?

Video demonstration


Note: this activity requires a box of paperclips, half of which have been in the freezer.

A person holding a paperclip.

1. Give each child or young person a room temperature paperclip.

How does the paperclip feel? Is it hot, warm, cool or cold?

A person noticing the temperature of the paperclip.

2. Put the paperclip down and get one out of the box (from the freezer).

How does this paperclip feel? Is it hot, warm, cool or cold?

A person noticing the difference in temperature betweeing two paperclips.

3. Now pick up the first paperclip in your other hand.

Does it feel warmer or cooler than it did before?

Video demonstration


Note: this activity can only be done when the outside temperature is quite different to the classroom temperature (this could be done inside by turning off the air-conditioning or heating instead of going outside).

A person standing still next to an air-conditioner.

1. Standing still, feel the air on your skin. Is it hot, warm, cool or cold?

A person noticing the temperature of their hands and face.

2. Notice how your hands and face feel. Do they feel the same temperature or different? Is it comfortable or uncomfortable?

A person standing outside in the sunshine.

3. Now go outside for a few minutes (or turn the air-conditioning or heating off for 5 minutes).


A person noticing the temperature of their hands and face.

4. Stand still and feel the air on your skin. Is it hot, warm, cool or cold?

5. Notice how your hands and face feel now.Do they feel the same temperature or different? Is it comfortable or uncomfortable?

Which air temperature did you prefer?

Video demonstration


Person sitting in a chair.

1. Sitting comfortably, on a chair or on the floor, close your eyes.

Person breathing in through the nose.

2. Breathe in through your nose while counting to five in your head Note to teacher: Count out loud initially to support this understanding).

Person breathing out through their mouth.

3. Open your mouth and breathe out while counting to five in your head.

4. Now close your mouth and breathe in through your nose while counting to five. Note to teacher: support understanding by saying ‘breathe in, one, two, three, four, five, and open mouth and breathe out’. Younger children should start by breathing in and out to the count of three, and once they are comfortable doing this, it can be extended to four and then five.

Person breathing in and out with a one minute timer.

5. Continue the deep breathing for one minute.

How do you feel? Which parts of your body moved when you were breathing in? Could you feel the air entering and exiting your body?

Video demonstration


Person lying on their back with their hands just below their ribs.

1. Lie down, relaxed and feeling comfortable. Close your eyes and keep your mouth closed. Rest your hand on the centre of your ribs or just below your ribs, not pressing too hard, your fingertips should be just touching.

Person breathing in through the nose.

2. Breathe in slowly and deeply through your nose. You should feel your hand rising as your lungs fill with air, your fingertips should have a space between them now.

Person breathing out through the mouth.

3. Now breathe out slowly through your nose, and keep breathing out. You should feel your hand moving back down as the air goes out of your lungs and your body deflates with your lungs, until your fingertips touch again.

4. Keep practising this breathing in and out for one minute.

Can feel your body moving even if you move your hands off your ribs?

Video demonstration


Person sitting in a chair with their eyes and mouth closed.

1. Sit comfortably, on a chair or on the floor. Close your mouth and your eyes. Breathe in and out through our nose slowly and quietly.

Person breathing in through their nose.

2. While you are breathing in and out, focus on feeling the air entering and exiting your nostrils. If you can’t feel it yet, think about where you can feel it, maybe on your upper lip or between your lips and nostrils.

Person breathing out through their nose.

3. When you can feel the air going in and out of your nose, notice how far into your nose and/or body you can feel the air entering. If you get distracted, bring the focus back to your breathing, slowly and quietly, feeling the air passing in and out of your nose.

Video demonstration


Person sitting on a chaire resting two fingers on the top of their leg.

1. Sit down on a chair or on the floor, and rest two fingers on the top of your leg.

What can you feel in your leg and in your fingers?


Person pressing two fingers into their leg.

2. Now push the two fingers into your leg hard.

3. Repeat steps 1 and 2 focusing on how your leg feels with each type of touch.

4. Repeat steps 1 and 2 focusing on how your fingertips and hand feel with each type of touch.

Video demonstration


Person sitting on a chair.

1. Sit down on a chair or on the floor.

Person stroking their cheek with one finger.

2. With one finger stroke your cheek.

Person stroking the back of their hand with one finger.

3. Now stroke the back of your hand.

Was the feeling in your fingertip the same or different?

Did each touch feel gentle?

Can you still feel anything on your face or arm or finger after these light touches?

4. Now drag your finger firmly across your cheek and then firmly across the back of your hand.

How did that feel? Can you still feel anything on your face or arm or finger after these firm touches?

Video demonstration


Person squatting against a wall.

1. Find a clear space of wall to lean against.

2. Press your back against the wall and slide down the wall and bend your knees. Your knees should be at a 90-degree angle. This position is called a squat.

Person squatting against a wall with a 30 second timer

3. Hold this position for 30 seconds.

Where did you feel it in your body when you were in the squat position?

4. Repeat the activity, but this time focus on your thigh muscles.

How did your thigh muscles feel while holding that stretch?

Video demonstration


Person sitting on the floor raising their legs into their air

1. Sit down on the floor. With your bottom on the floor, raise your legs into the air. If you need, put your hands on the floor to support you.

Person sitting on the floor raising their legs into their air with a 30 second timer.

2. Now hold our legs in the air for 30 seconds. Younger children can start by holding for just 10 to 15 seconds and build up over time.

Where did you feel it in your body when you had your legs in the air?

3. Now repeat the activity, but this time focus on the part of the body where you felt it the first time.

Did you feel the stretch more intensely doing it for the second time?

Video demonstration


Person on all fours with back flat like a tabletop

1. Start on all fours. Your back should be flat like a tabletop. Eyes should look straight down to the ground.

2. Breathe in through your nose, drop your belly down and slowly lift the head/neck up, eyes looking up. This is a cow stretch.

Person breathing in through your nose with their belly dropped down.

3. As you exhale through your mouth, lift the belly and spine up so the back is arched like a cat.

4. Alternate five to ten cow to cat stretches.

Where did you feel it in your body when you were stretching?

5. Now repeat the cat/cow stretch but this time focus on one of the body parts you identified in step 4.

Did you feel the stretch somewhere different doing the cat stretch compared to the cow stretch? Could you notice the stretches in other places as well as the one you were focused on?

Video demonstration


Person lying on their back on the floor.

1. Start by lying on your back.

Person lying on their back, pulling one knee into their chest with a 30 second timer.

2. Pull one knee into your chest, while keeping the other leg straight and your lower back pressed into the floor.

3. Hold for 30 seconds.

4. Swap legs.

Where did you feel it in your body when you were completing the stretch?

5. Now repeat the knee-to-chest stretch but this time focus on one of the body parts you identified in step 4.

Where did you feel it in your body after this round of knee-to-chest stretches? Did you feel it in the same place as last time or somewhere new?

Video demonstration


Person standing holding two books.

1. Start by grabbing two books.

Person holding two books over their head for 30 seconds.

2. Lift your arms up while holding the books in your hand.

3. Hold this pose for 30 seconds.

Where did you feel it in your body when we were stretching?

4. Now repeat the shoulder stretch but this time focus on one of the body parts you identified in step 3.

Where did you feel it in your body this time lifting the books? Did you feel it in the same place as last time or somewhere new?

Video demonstration


Person in a seated position, placing the soles of their feet together and holding them with their hands.

1. In a seated position, place the soles of your feet together and hold them with your hands. The legs are now forming the ‘butterfly wings’.

2. Place your elbows gently between your legs or rest them on your knees.

3. Gently press the knees down to increase the stretch.

Where did you feel it in your body when we pushed down on our knees?

4. Now repeat the butterfly wings stretch but this time focus on one of the body parts you identified in step 3.

Where did you feel it in your body this time with the butterfly wings stretch? Did you feel it in the same place as last time or somewhere new?

Video demonstration


Person putting their left leg forward and right foot back and squatting slightly into a lunge.

1. Start in a standing position.

2. Put your left leg forward and your right foot back into a slight lunge.

Person lunging, lifting their arms and holding them out straight to their sides.

3. Lift your arms and hold them out straight to your sides. This is called the surfing stretch. Hold this pose for 30 seconds.

Where did you feel it in your body when you were doing the surfing stretch?

4. Now repeat the surfing stretch but this time focus on one of the body parts identified in step 3.

Where did you feel it in your body this time doing the surfing stretch? In the same place as last time or somewhere new?

Video demonstration


Person in a standing position,with their hands out in front and interlacing their fingers.

1. Start in a standing position.

2. Put your hands out in front of you and interlace your fingers. Push your hands out and flip your hands over.

Person in a standing position,with their hands out in front and interlacing their fingers with a 30 second timer.

3. Hold this pose for 30 seconds.

Where did you feel it in your body?

4. Now repeat the knuckle cracker stretch but this time focus on one of the body parts identified in step 3.

Where did you feel it in your body this time doing the knuckle cracker stretch? Did you feel it in the same place as last time or somewhere new?

Video demonstration


Person in a plank position.

1. Start by lying flat on your stomach. Place your hands under your shoulders. Press your toes into the floor.

Person in a plank position with a 30 second timer.

2. Push your body up off the floor and hold that position for 30 seconds. If you can’t hold your body for 30 seconds, that’s OK, just do it for as long as you can.

Where did you feel it in your body? If it ached or hurt somewhere, notice how the ache or hurt has stopped now you are no longer in the plank position.

3. Now repeat the plank but this time focus on one of the body parts identified in step 2.

Where did you feel it in your body this time in the plank position? Did you feel it in the same place or somewhere new? If you keep practising the plank, your body will get stronger over time and it will get easier. Any ache or hurt will decrease too.

Video demonstration


Person standing and spreading their arms and legs into a star shape.

1. Stand tall, head up high and pull in your belly button. Spread your arms and legs into a star shape.

Person stretching over to one side.

2. Breathe in through your nose as you slowly stretch one arm over your head. Slide your other arm down your leg.

3. Slowly tilt your star to the other side and breathe out through your mouth

4. Repeat both sides.

Where did you feel it in your body?

5. Now repeat the star stretch but this time focus on one of the body parts identified in step 4.

Where did you feel it in your body this time doing the star stretch? Did you feel it in the same place or somewhere new?

Video demonstration


Person standing with both hands to thge right side of their body.

1. Start by standing up with your hands by your side. Place both hands to the right side of your body.

Person swinging their hands to the left side of their body.

2. Swing your right hand behind your back and your left in front of you. Swing them back out and across your body.

3. Swing your left hand behind your body and your right in front of you.

4. Repeat these movements for 30 seconds.

Where did you feel it in your body?

5. Now repeat the flossing movement but this time focus on one of the body parts identified in step 4.

Where did you feel it in your body this time while flossing? Did you feel it in the same place or somewhere new?

Video demonstration


Person standing up tall with both arms reaching up.

1. Stand up tall. Put both arms up and reach up as far as you can.

2. Pretend you are a giraffe, stretching your long neck up to the sky.

Person standing up tall with both arms reaching up with a 30 second timer.

3. Keep holding the stretch for 30 seconds.

Where did you feel it in your body?

4. Now repeat the giraffe stretch but this time focus on one of the body parts identified in step 3.

Where did you feel it in your body this time doing the giraffe stretch? Did you feel it in the same place or somewhere new?

Video demonstration


Person sitting on the floor with their hands linked under their knees.

1. Sit on the floor. Link your hands under your knees.

Person sitting on floor, hands linked under their knees, rocking backwards and forwards.

2. Lean backwards and rock forwards and backwards.

3. Keep gently rocking for 30 seconds.

Where did you feel your body touching the floor? Point to that part of your body.

4. Now repeat the activity, but this time rock sideways instead.

Does it feel different?

Where did you notice it this time when you were rocking sideways?

5. Now choose to either rock forwards and backwards or sideways. Focus on how your body feels when it is rocking.

Video demonstration


Person tilting their head side to side.

1. For this activity either stand up or sit in a chair.

2. First, slowly tilt your head side to side three times. Tilt it to one side of your body and then slowly tilt it to the other side of your body.

3. Now turn your head from side to side three times. Slowly turn your head to the left, then back to the middle, then turn your head to the right.

Where can you feel it in your body?

4. Now repeat the activity but this time focus on the part of the body you identified in step 3.

Where did you feel it in your body this time doing the stretch? Did you feel it in the same place or somewhere different?

Video demonstration


Two people sitting on the ground facing each other demonstrating 'row your boat'.

1. Find a partner and sit on the ground facing your partner.

2. Start singing the lyrics to the song ‘Row, row, row your boat’ with your partner:

Row, row, row your boat,

gently down the stream,

merrily, merrily, merrily, merrily,

life is but a dream.

Two people demonstrating 'row your boat' rocking back and forth.

3. As you sing the song, put your hands up against your partner’s hands, have your knees slightly bent.

4. Push your hands against your partner’s as you rock backwards and forwards in a ‘rowing motion’.

Where did you feel it in your body as you were rowing?

5. Now repeat the rowing movement with your partner but this time focus on one of the body parts identified in step 4.

Where did you feel it in your body this time while rowing with your partner? Did you feel it in the same place or somewhere new?

Video demonstration


Person lying on their back on the floor.

1. Start by laying down on the floor with your hands by your side.

2. Tense and relax each muscle group for two to three seconds. At the same time take deep, slow breaths in through your nose and out through your mouth.

3. Start with your feet and toes. Tense then relax.

4. Move up to your knees and thighs. Tense then relax.

5. Move up to your stomach. Tense then relax.

6. Clench your hands. Tense then relax.

7. Move up to your arms. Tense then relax.

8. Move up to your shoulders. Tense then relax.

9. Move up to your face. Tense then relax.

10. Now repeat the activity focusing on how each body part feels when it is tensed compared to when it is relaxed.

Which part of the body felt most different when it was tensed versus when it was relaxed?

Video demonstration


Person standing with their hands by their sides.

1. Start in a standing position with your hands by your sides.

Person raising their hands up abvoe their head.

2. Take a deep breath in through your nose. As you do, raise your arms up over your head making a rainbow shape.

3. As you breathe out through your mouth, move your arms back down to your side.

Where did you feel it in your body?

4. Now repeat the activity, but this time focus on breathing in through your nose and out through your mouth.

What change did you notice in your body after focusing on your breathing?

Video demonstration


Person sitting on the ground with their hands to their lips.

1. Start by sitting cross-legged on the floor or sitting on a chair. Put your hands up to your mouth as if they are holding an imaginary balloon.

2. Take a deep breath in through your nose and slowly start to blow out through your mouth.

3. With your hands, extend them out as if you were blowing up a balloon.

Where did you feel it in your body?

4. Now repeat the activity, but this time focus on your breathing in through your nose and out through your mouth.

What change did you notice in your body after focusing on your breathing?

Video demonstration


Two people sitting back-to-back on the ground.

1. Find a partner and sit on the floor cross-legged, back to back. Sit up tall and close your eyes if you want to.

2. Start to breathe in through your nose and out through your mouth.

Where did you feel it in your body?

3. Now repeat the activity, but this time focus on syncing your breath with your partner by feeling the movement in your partner’s back.

What change did you notice in your body after focusing on trying to match your breathing with your partner’s breathing?

Video demonstration


Person standing tall and breathing in and out.

1. Find a space in the room and stand tall.

2. Take a deep breath in through your nose and out through your mouth. Once you have done this, take one big step forward.

Person taking a step forward.

3. Repeat 9 more times.

Was it comfortable to breathe like this while taking the steps?

4. Now repeat the activity, focusing on your breathing, in through your nose and out through your mouth.

What change did you notice in your body after focusing on your breathing?

Video demonstration


Your heart is a pump which pumps blood around your body through your arteries. Where the arteries are close to your skin you can feel the blood moving; this movement of your blood is called your pulse. You can feel your pulse in several places by gently feeling an artery with your fingertips. You can count your pulse to work out how fast your heart is beating; this is called your heart rate. The easiest place to feel your pulse is on your wrist.

Two fingers on a wrist feeling pulse.

1. Sit down and rest your hand on your leg with your thumb up in the air and your palm facing up.

2. With the first two fingers of your other hand, stroke from the top of your thumb down the side until your fingers reach your wrist.

3. Move your fingers slowly onto the inside of your wrist, and gently feel for your pulse.

4. When you have found your pulse, you can count how many beats in 15 seconds.

5. How does your pulse feel? Is it fast or slow? Is it hard or soft?

(Children and young people who are able can multiply their score by four, which will give them their heart rate per minute.)

Video demonstration


Fingers on wrist measuring pulse.

1. In a standing or sitting position, find your pulse on your neck or wrist. Record your pulse for one minute.

Person in a plank position.

2. Move down into a plank position, with hands and feet on the floor, and your body straight.

Person in plank position pulling one leg forward.

3. Pull your knee into your chest, while staying in the plank position.

4. Now switch knees. Alternate, pulling the knees in right, left, right, left, to create a ‘running’ motion. This is called the 'mountain climber'. Do this for one minute.

5. Stand up and find your pulse on your neck or wrist. Record your pulse for one minute. (Younger students who cannot count reliably may use smart watches or pulse oximeters for this activity or they can simply be guided to notice the quality of their pulse, e.g. hard/soft, fast/slow etc.)

What did you notice about your pulse after completing the mountain climber activity compared to your pulse before the activity? Did the pulse feel different as well as feeling quicker?


Video demonstration


Fingers on wrist taking pulse.

1. In a standing or sitting position, find your pulse on your neck or wrist. Record your pulse for one minute.

Person squatting down in a 'frog' position.

2. Stand tall with your feet a little wider than hip width and slightly turned out. Squat down into a frog position and place your hands on the ground between your legs.

Person jumping up with both arms in the air.

3. Spring off your bent legs, throwing your arms into the air. Repeat this squat and jump action for 30 seconds.

4. Stand up and find your pulse on your neck or wrist. Record your pulse for one minute. (Younger students who cannot count reliably may use smart watches or pulse oximeters for this activity or they can simply be guided to notice the quality of their pulse, e.g. hard/ soft, fast/slow etc.)

What did you notice about your pulse after completing the frog squat jump activity compared to your pulse before the activity? Did the pulse feel different as well as being quicker?


Video demonstration


Fingers on wrist taking pulse.

1. In a standing or sitting position, find your pulse on your neck or wrist. Record your pulse for one minute.

Person standing with feet together and arms by their side.

2. Stand with your feet together, knees slightly bent and arms at your side.

Person demonstrating a 'jumping jack'.

3. Now jump while raising your arms and separating your legs to the sides, landing with legs apart and arms overhead.

4. Repeat the jumping jacks for 30 seconds.

5. Stand up and find your pulse on your neck or wrist. Record your pulse for one minute. (Younger students who cannot count reliably may use smart watches or pulse oximeters for this activity or they can simply be guided to notice the quality of their pulse, e.g. hard/ soft, fast/slow etc.)

What did you notice about your pulse after completing the jumping jacks compared to your pulse before the activity? Did the pulse feel different as well as being quicker?


Video demonstration


1. Provide students with an outline of a blank body drawn on a piece of paper.

2. After coming inside from play, ask students to sit and notice where inside their bodies they feel heat.

3. Ask each student to circle on the body outline where they are noticing heat. For example, they could feel that their face feels hot, or their underarms feel hot and sweaty.

4. Ask the students to share where they noticed the heat.

Discuss strategies they can use to cool down. For example, take their jumper off; have a drink of water; turn on the air-conditioner.

It may be useful to use a mirror to show students their body cues. For example, use a mirror to show students that their face is red, they are puffing and they are sweating. These body cues show the body is hot and needs to cool down.

  An outline of a human body.
The 'Get ready to learn' resource has been funded by the Australian Government Department of Education and builds on the Ready to learn: Interoception Kit developed and trialled for the South Australian Department for Education by Dr Emma Goodall. The aim of the resource is to help, educators and families teach self-regulation to children with complex behaviours. Dr Goodall’s research found that learning and practising the activities in 'Get ready to learn' may help reduce behaviours that result in school exclusion and may help improve mental health.